

Send a table to Google Sheets
Send the table you just built out of Keboola into a Google Sheet using the Google Sheets data destination connector.
Whoever asked the question will look in a spreadsheet, not in Keboola. This page delivers a Storage table to a Google Sheet, with the same mechanism that sends data to a warehouse, a BI tool, or a CRM.
Where you are: the table you want to send is in Storage. When you finish: the same rows in a spreadsheet, refreshed on every run.
Two ways to do this, one page — they are alternatives, not steps. Prompt is what you paste into Kai; UI is the same task click by click, for when you want to see where each setting lives. Either tab reaches the same result.
Kai asks before it changes anything: expect one approval dialog per object it creates, showing the exact configuration it is about to write. Questions that only read do not ask. If confirming each one gets tiring, pre-approve tools in tool permissions. The chat's plan mode button is a different thing: Kai writes the steps down and asks you to approve the plan before it starts — and then still asks for each change. Use it when you want to read the plan first, not to save clicks.
One thing stays yours either way: the Google consent screen, which lives in your own account, so no assistant can click it for you.
If a step builds something other than what this page describes, say so in the same chat — it edits what it made. Nothing here is one-way.
Two tabs here, not the three the main path uses: the authorization is a browser consent screen, so
a terminal cannot start this task. Once the configuration exists and is authorized, kbagent
drives it like any other component — config row-create to add a sheet, job run --wait to send
the table.
The configuration and the Google authorization below are yours either way; the tabs pick up afterwards.
Before you start
- A Keboola project. Get a project covers creating or joining one — the Free Plan covers this guide.
- A Google account you can sign in with. The consent screen lives in your own account, so it is the one thing no assistant can click for you.
The table you want to deliver, in Storage:
staffing_outlookfrom Transform data if you are following the guide.
Sending data out
Section titled “Sending data out”Getting data out is handled by data destination connectors, the mirror image of the data source connectors you loaded with. The pattern is always the same: authorize the target, pick the Storage table, say where it goes, run it. Sending processed data back into the operational systems it came from is often called reverse ETL; in Keboola it is just another component in your flow.
Google Sheets is the easiest destination to try. The full catalogue covers databases, BI tools, and cloud storage.
Configure the destination
Section titled “Configure the destination”-
Open Components and search for
Sheets. Five results come back, and the first two are Google Sheets — Data Source and Google Sheets — Data Destination: near-identical names, opposite jobs. Pick the Data Destination one (component IDkeboola.wr-google-sheets). Picking the data source by mistake makes the rest of this page impossible.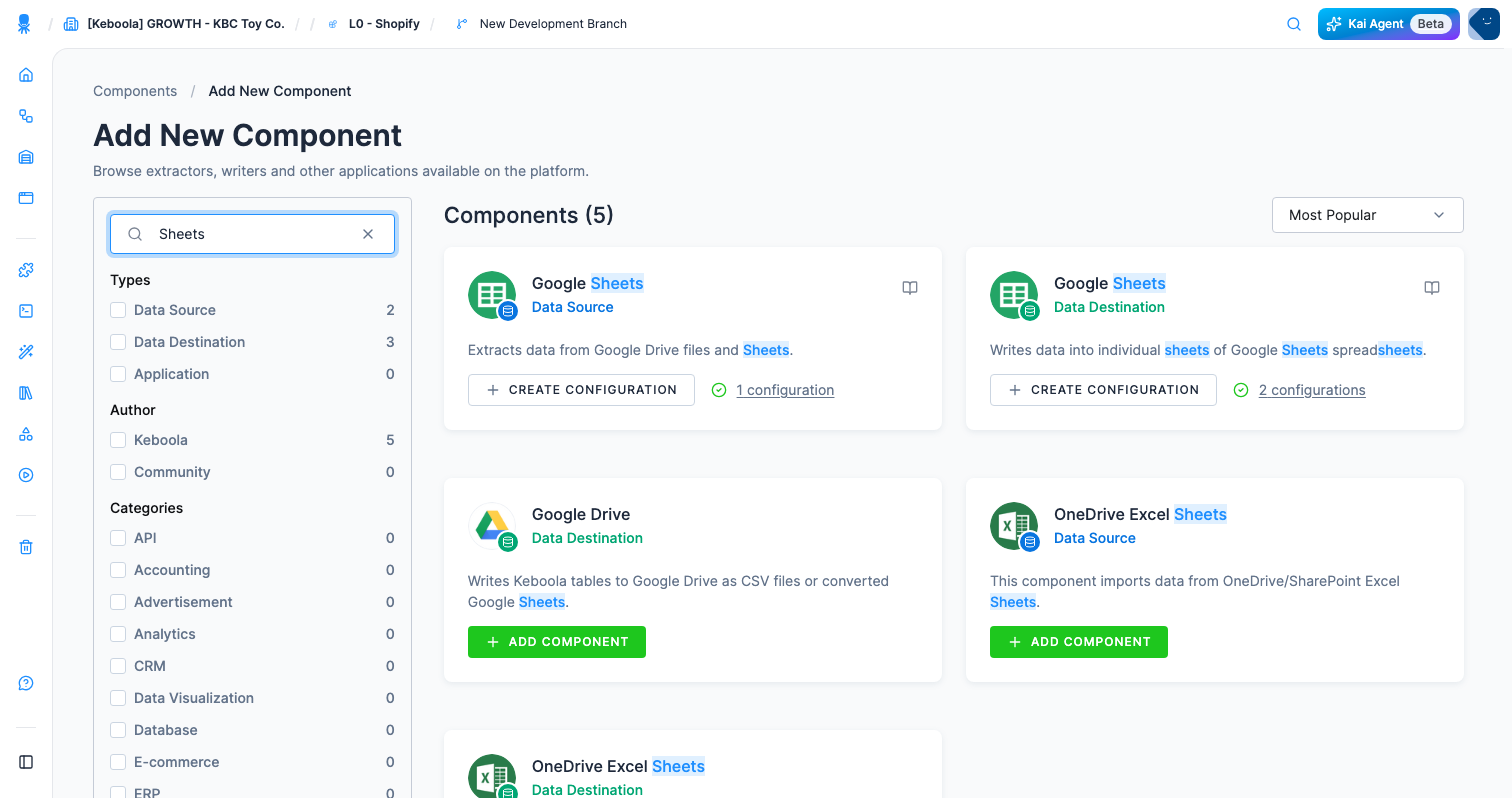
-
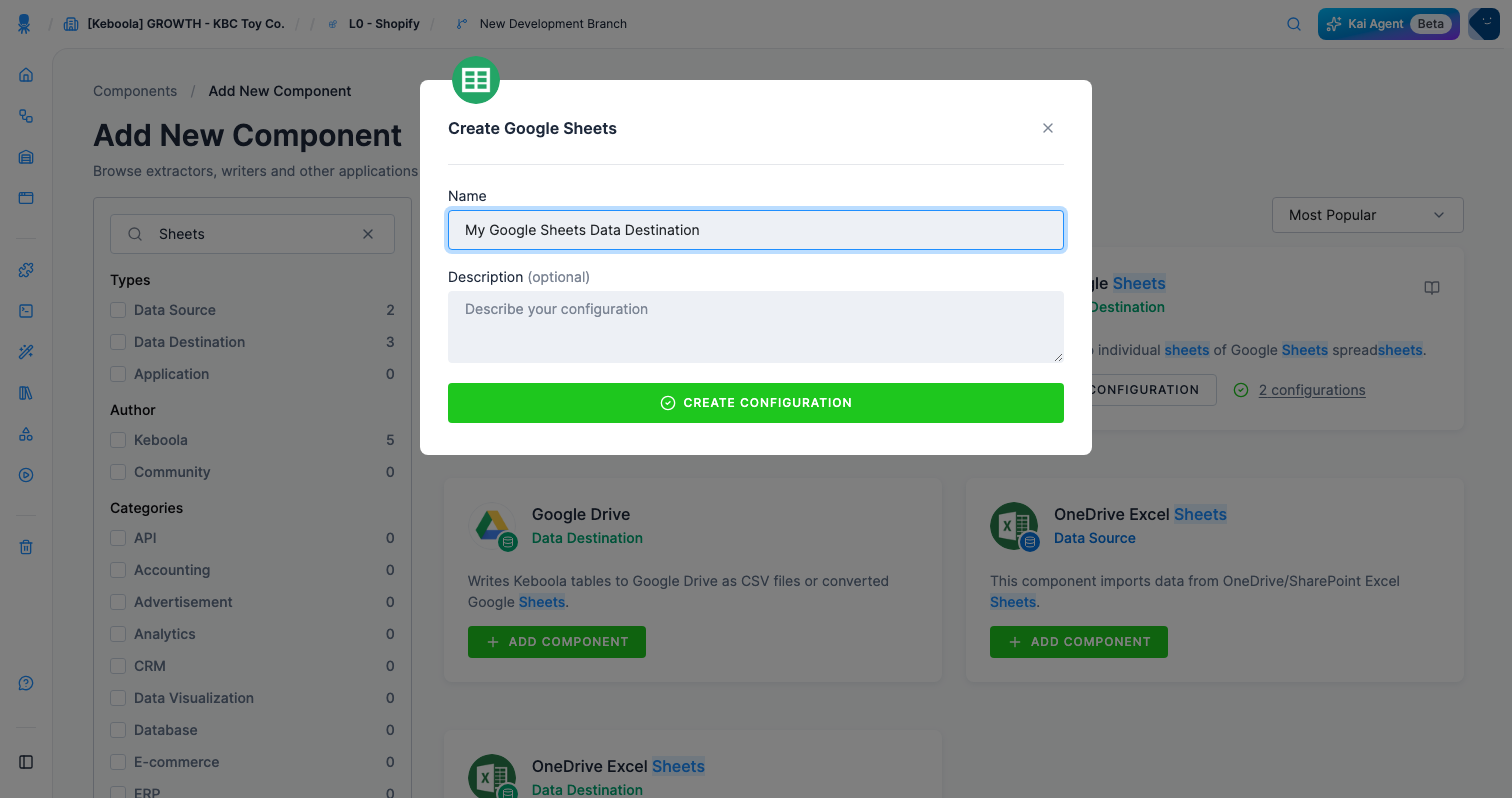
Click Add Component (Create Configuration on the card once the component already has configurations), then Connect To My Data. It is the only button here, unlike the HTTP connector in Get your data in, which also offered demo data.
-
Name the configuration
Boolabean outlook to Sheets, add a description, and click Create Configuration.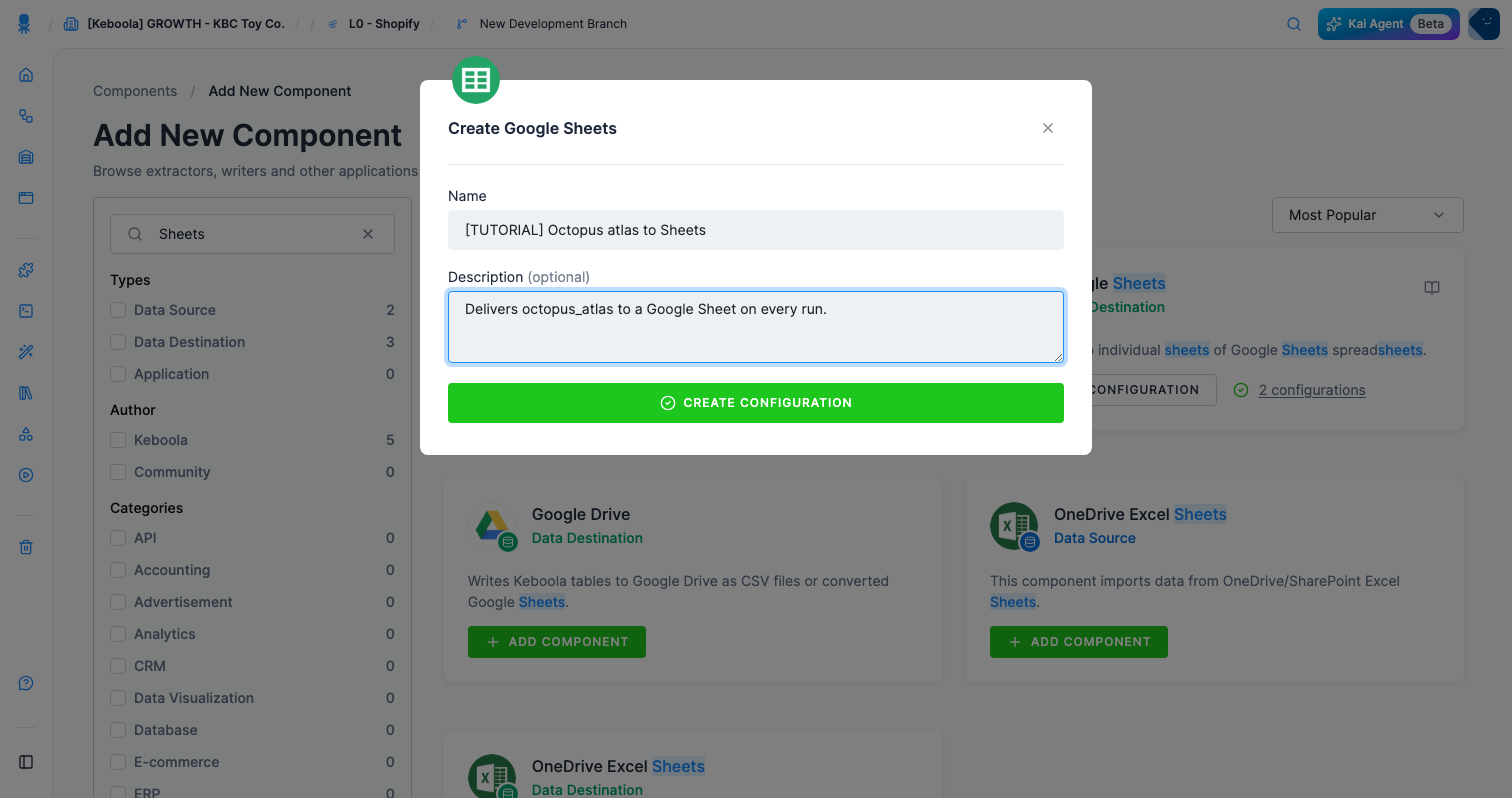
Authorize your Google account
Section titled “Authorize your Google account”-
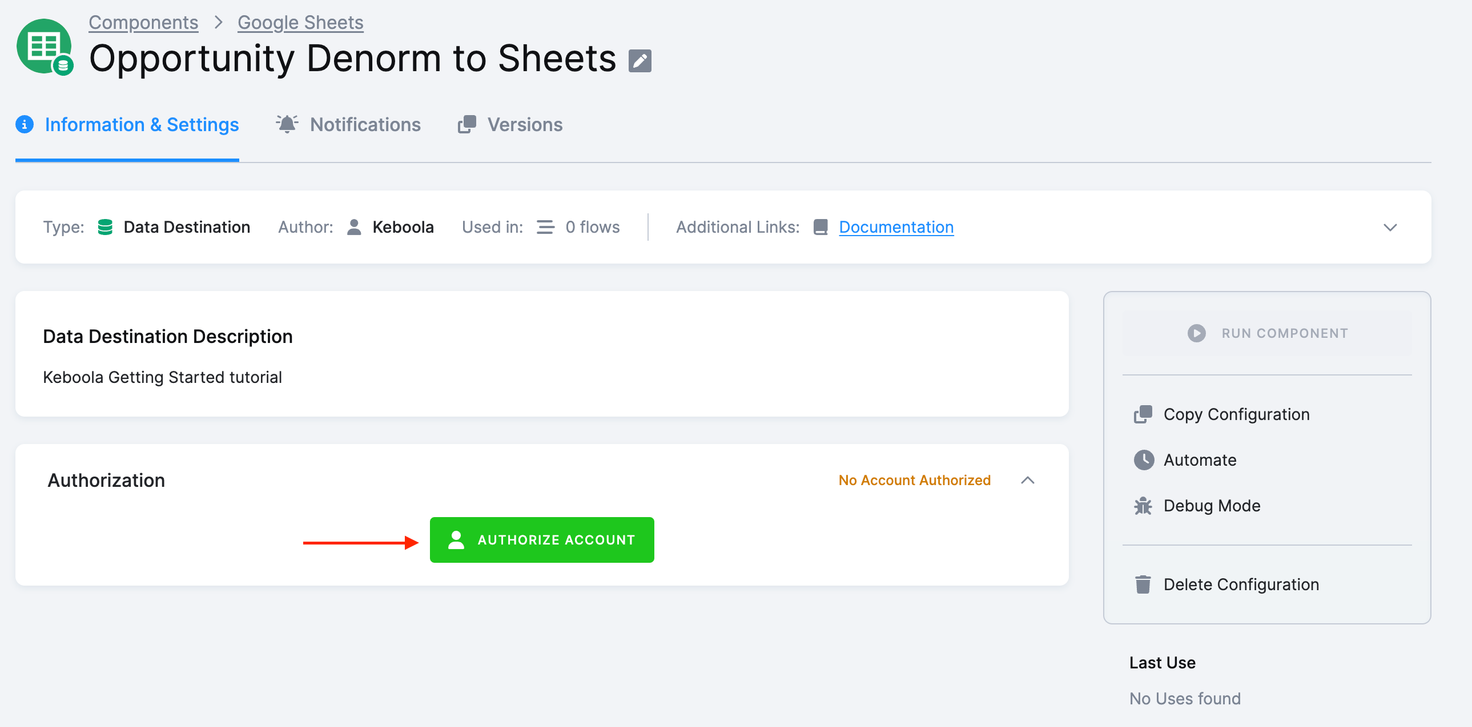
Authorize the account you want to write into.
-
Name the authorization and click Sign in with Google. Use external authorization instead if a colleague, not you, owns the target account; Keboola sends them a link and never sees their credentials.
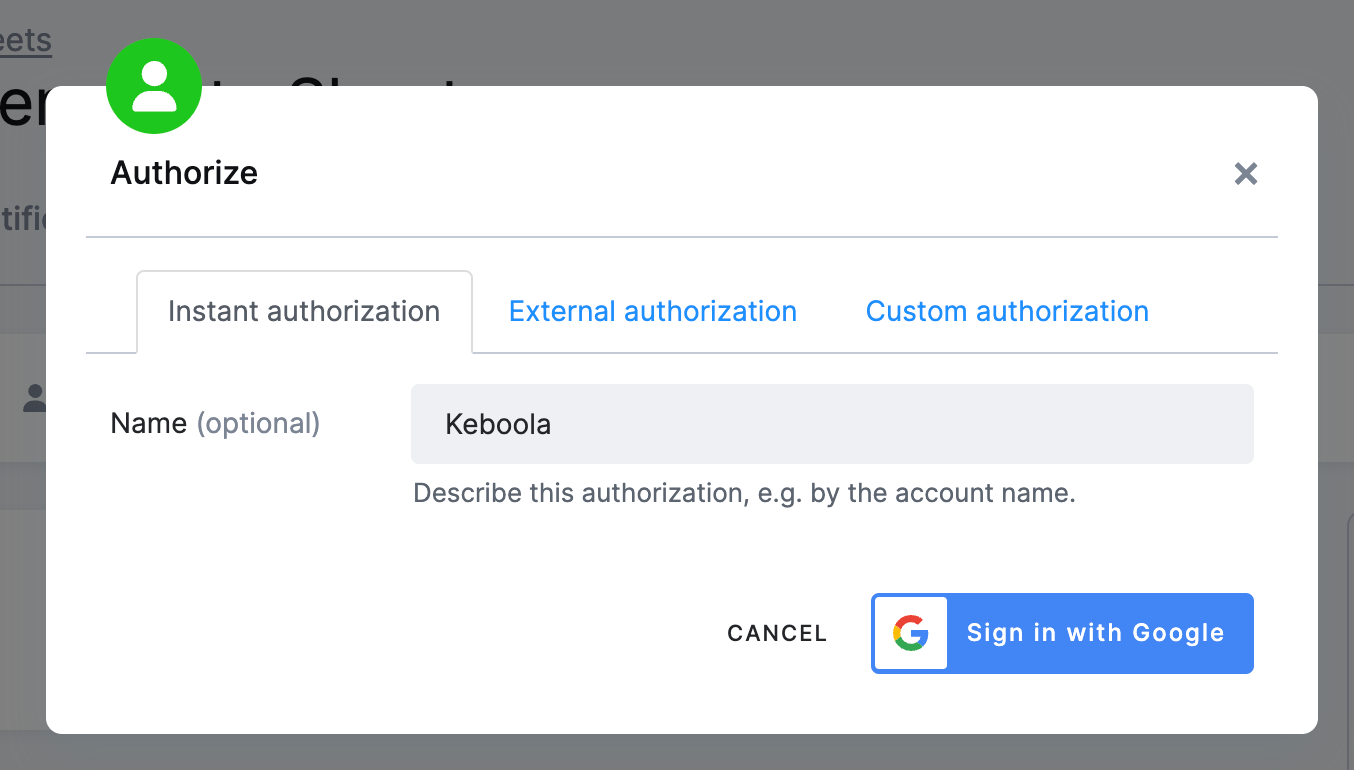
-
Click Allow.
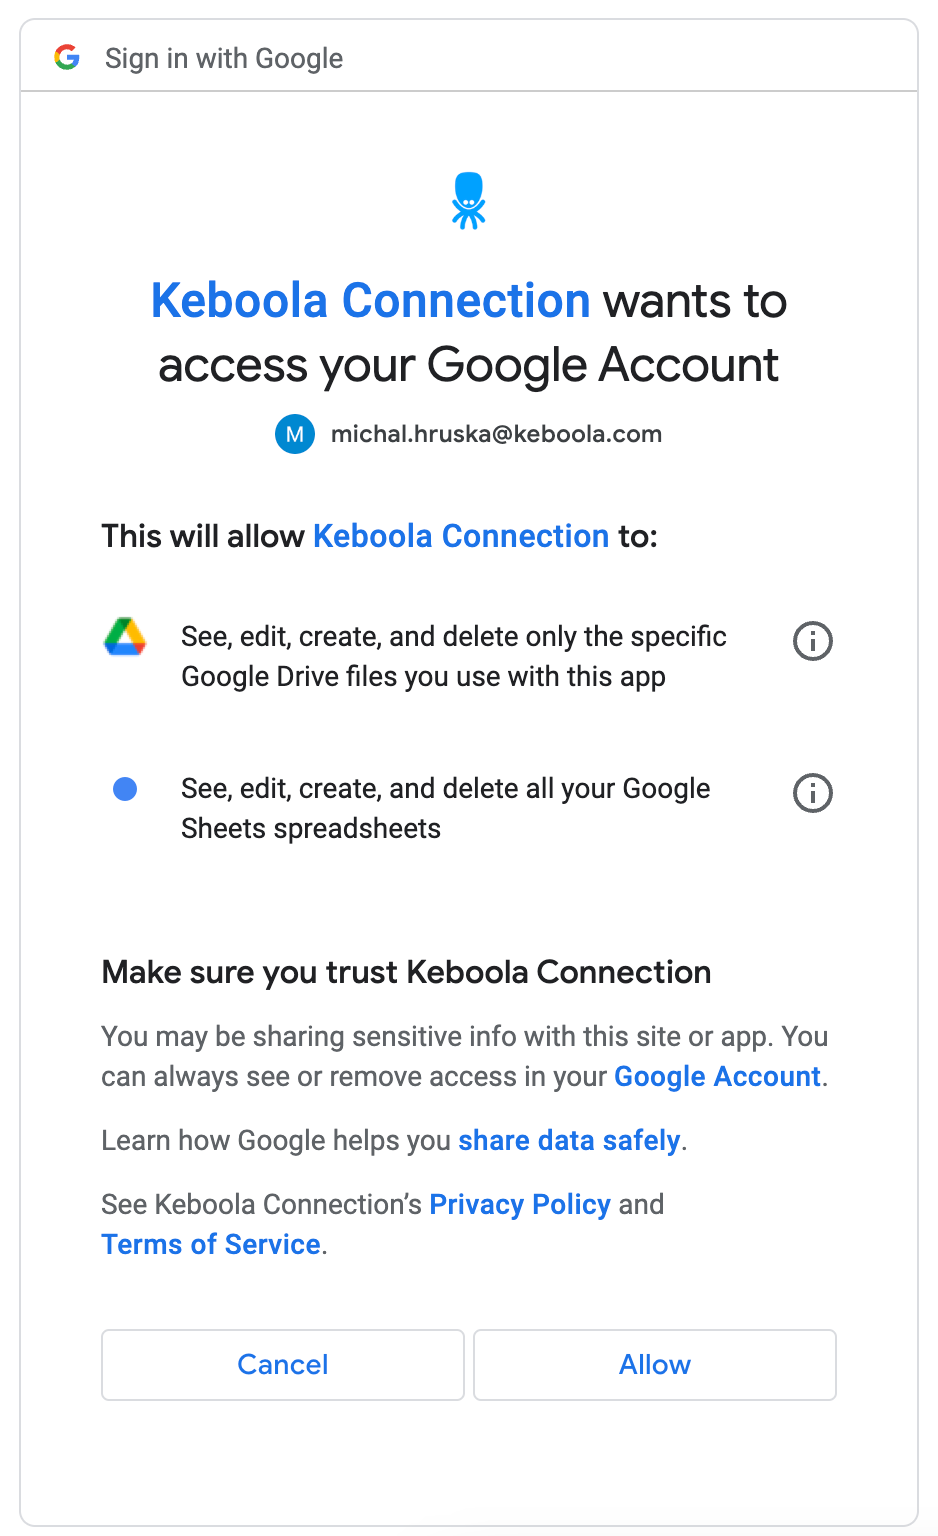
The authorization belongs to this configuration. Keboola stores component secrets as encrypted configuration parameters; there is no decryption API, so the credentials are never readable back out of the configuration.
Set it up
Section titled “Set it up”Kai configures data destinations as well as data sources. The configuration and the authorization above are yours either way; that consent screen is in your own Google account, not something an assistant can click through. Everything after it, Kai can do: open Kai Agent in the top bar and hand it over.
In my "Boolabean outlook to Sheets" configuration, writeout.c-Boolabean-staffing-outlook.staffing_outlook to a new spreadsheet called"Boolabean staffing outlook", into a sheet named staffing_outlook, set to update rows ratherthan append. Then run it.Naming all three matters: the flow puts this on a daily schedule, so an appending sheet grows by 42 rows a day and the manager reading it sees last week’s forecast above this week’s, and the check at the end of this tab looks for that spreadsheet name.
Check: the sheet holds every row of staffing_outlook, 42 of them, computed columns
included, exactly as in Run it and check the result. If it does
not, switch to the UI tab and edit the sheet Kai created (its spreadsheet and sheet
settings, steps 9 and 10), since everything Kai set is editable there.
Pick the table and the sheet
-
Click New Sheet.
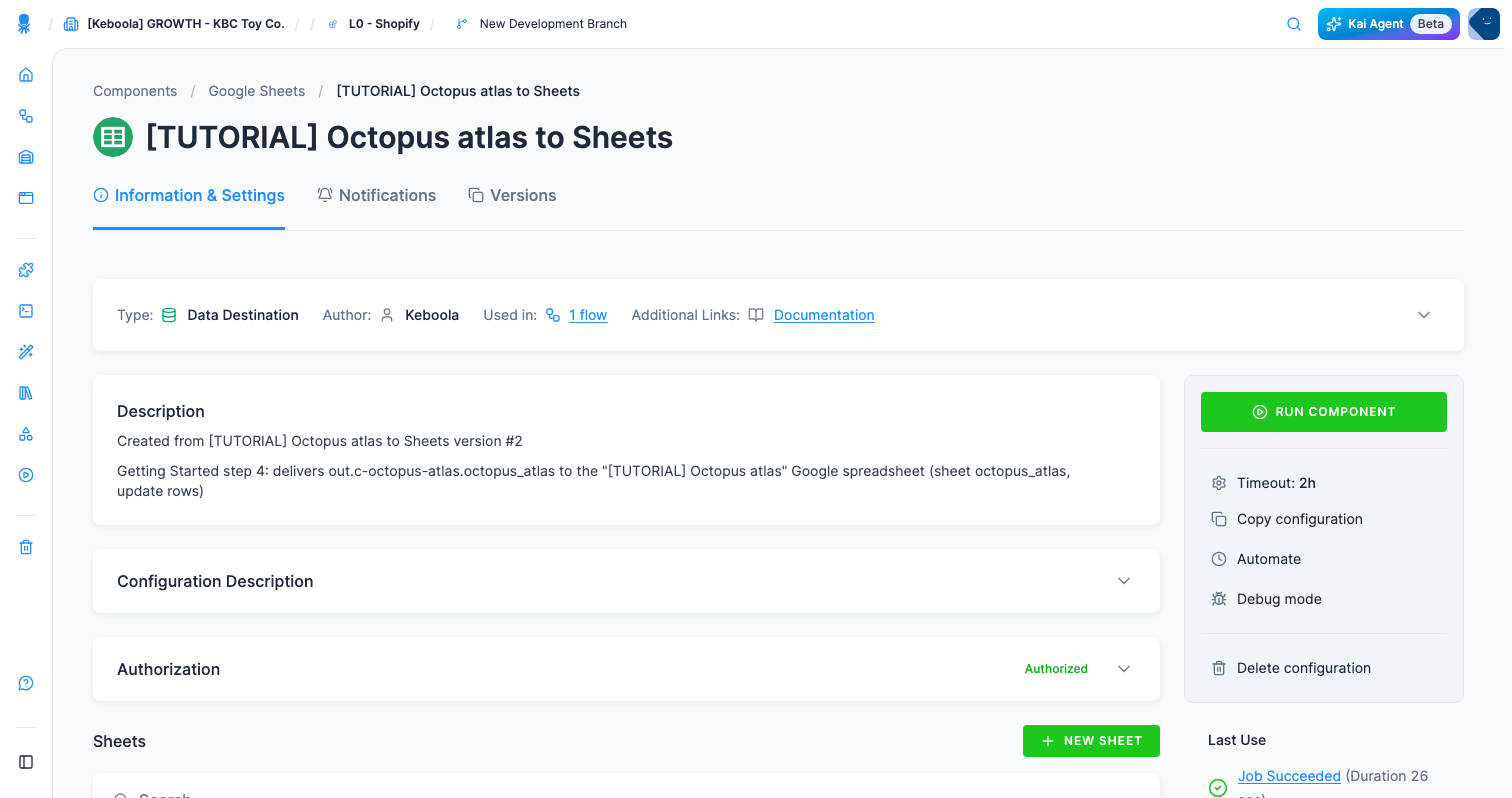
-
The Add Sheet wizard opens: three short steps you move through with Next. On the first, pick
out.c-Boolabean-staffing-outlook.staffing_outlookas the Input Table and click Next. (The list hides tables this configuration already writes; an empty configuration offers everything in Storage.) -
On the spreadsheet step, choose New spreadsheet and name the spreadsheet, the file that will appear in Drive. Use
Boolabean staffing outlook. An existing spreadsheet works too; you pick it from the authorized account’s Drive. Click Next. -
On the last step, name the sheet, the tab inside that file,
staffing_outlook, select Update rows, and click Save Sheet. This creates the empty spreadsheet in the authorized account, ready to receive data.Update rows replaces the sheet’s contents on every run. The alternative appends to the bottom instead: right for a log, wrong for a table you want to reflect current state.
Run it and check the result
Section titled “Run it and check the result”Coming from the Prompt tab? The run already happened; the prompt asked for it. Start at step 12.
-
Click Run Component.
-
When the job finishes, click the spreadsheet name,
Boolabean staffing outlook, to open it in Google Drive.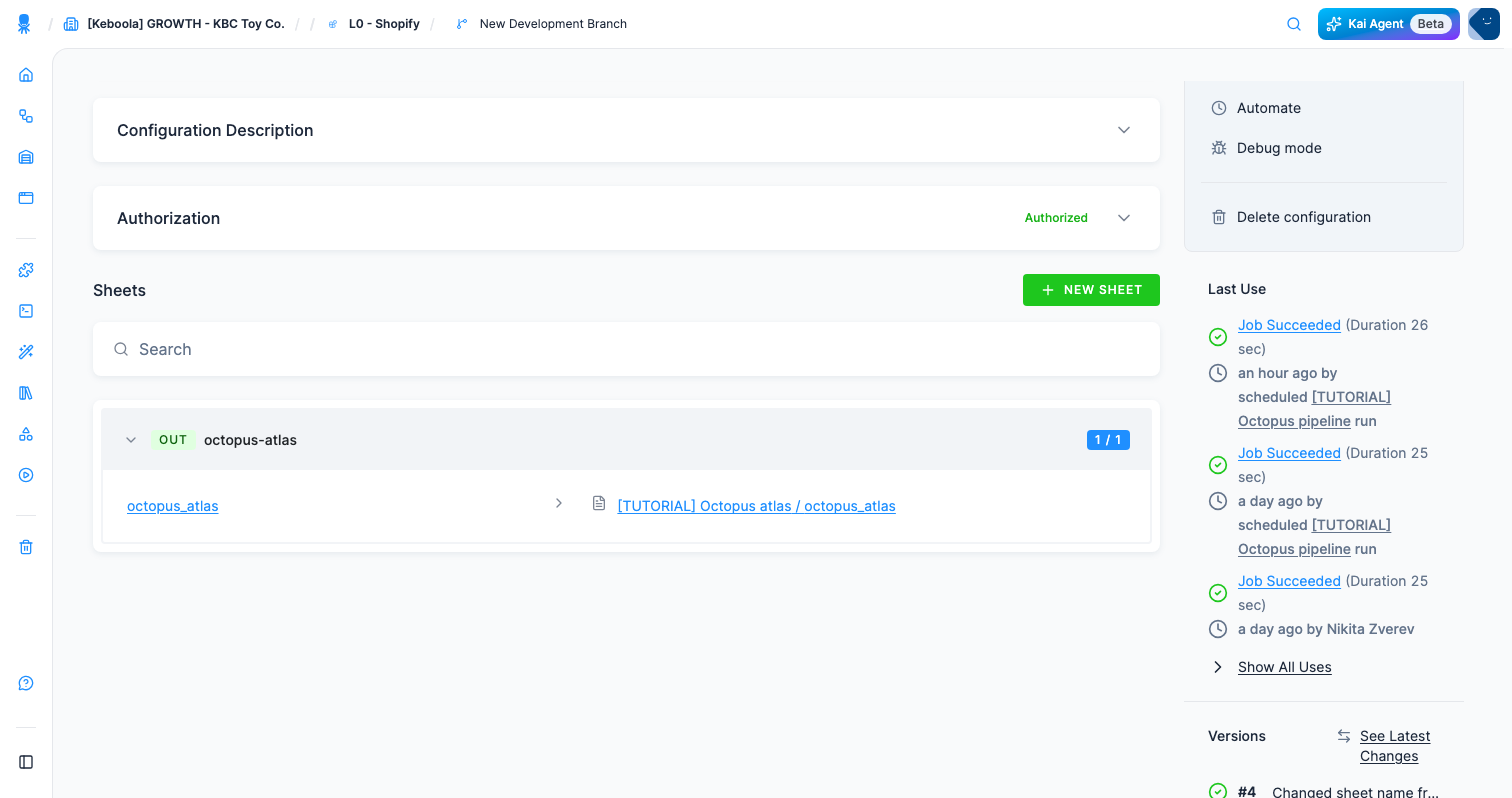
The sheet should hold every row of staffing_outlook: 42 rows, one per café per forecast day,
with the columns that did not exist in any of the files you started with, expected_units,
rostered_staff, expected_units_per_person and short_handed. Sort it by
expected_units_per_person descending and the café and day the guide is about sit at the top,
readable by anyone with the link. That is the whole pipeline, end to end.
If it goes wrong
Section titled “If it goes wrong”- The job fails with a permission error. The authorization expired or was revoked in the Google account. Re-authorize the configuration; the sheet selection survives.
- The spreadsheet stays empty. The table was saved in the configuration but the component has not run since: click Run Component. If it did run, check in Jobs whether the source table had any rows.
- Only some columns arrive. The sheet was created against an older version of the table. Delete the sheet from the configuration and add it again so the column list is rebuilt.
- You cannot open the spreadsheet. It lives in the authorized Google account, not yours; if you authorized a colleague’s account, ask them to share it.
- You want the delivery checked against the source. Kai can read both sides:
Read the last Google Sheets destination job, tell me whether it succeeded, and compare what it wrote with the row count of out.c-Boolabean-staffing-outlook.staffing_outlook.